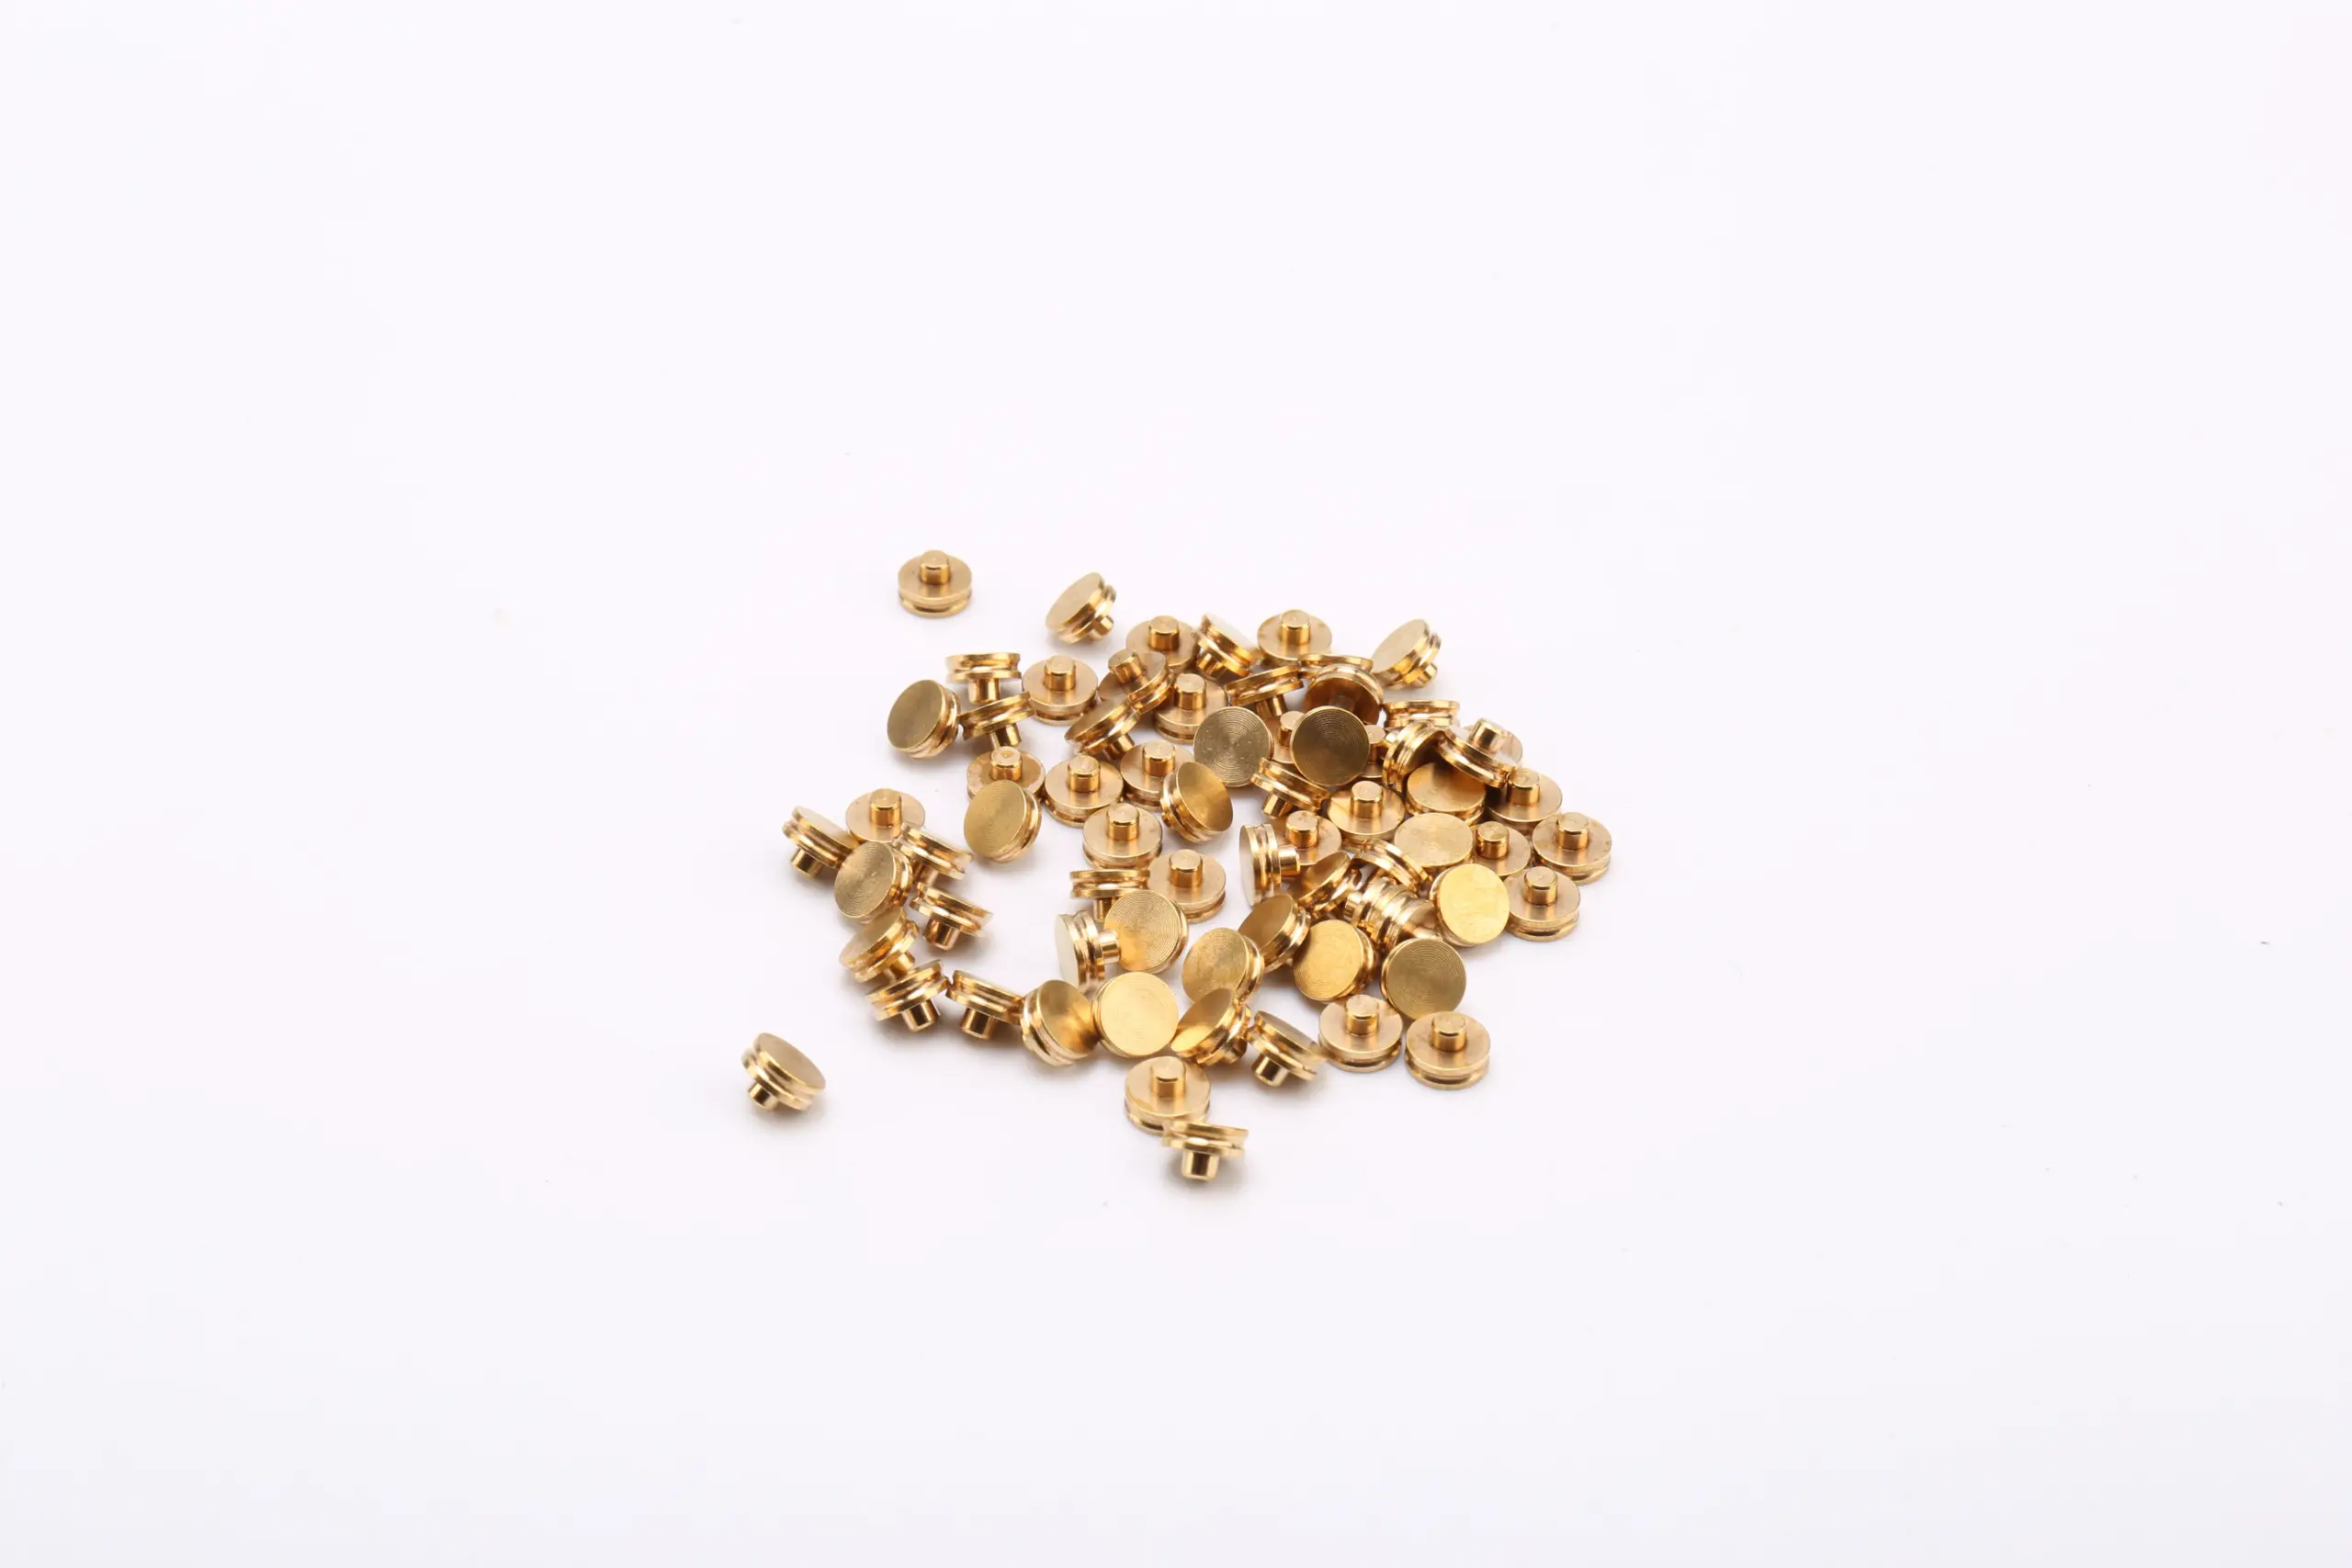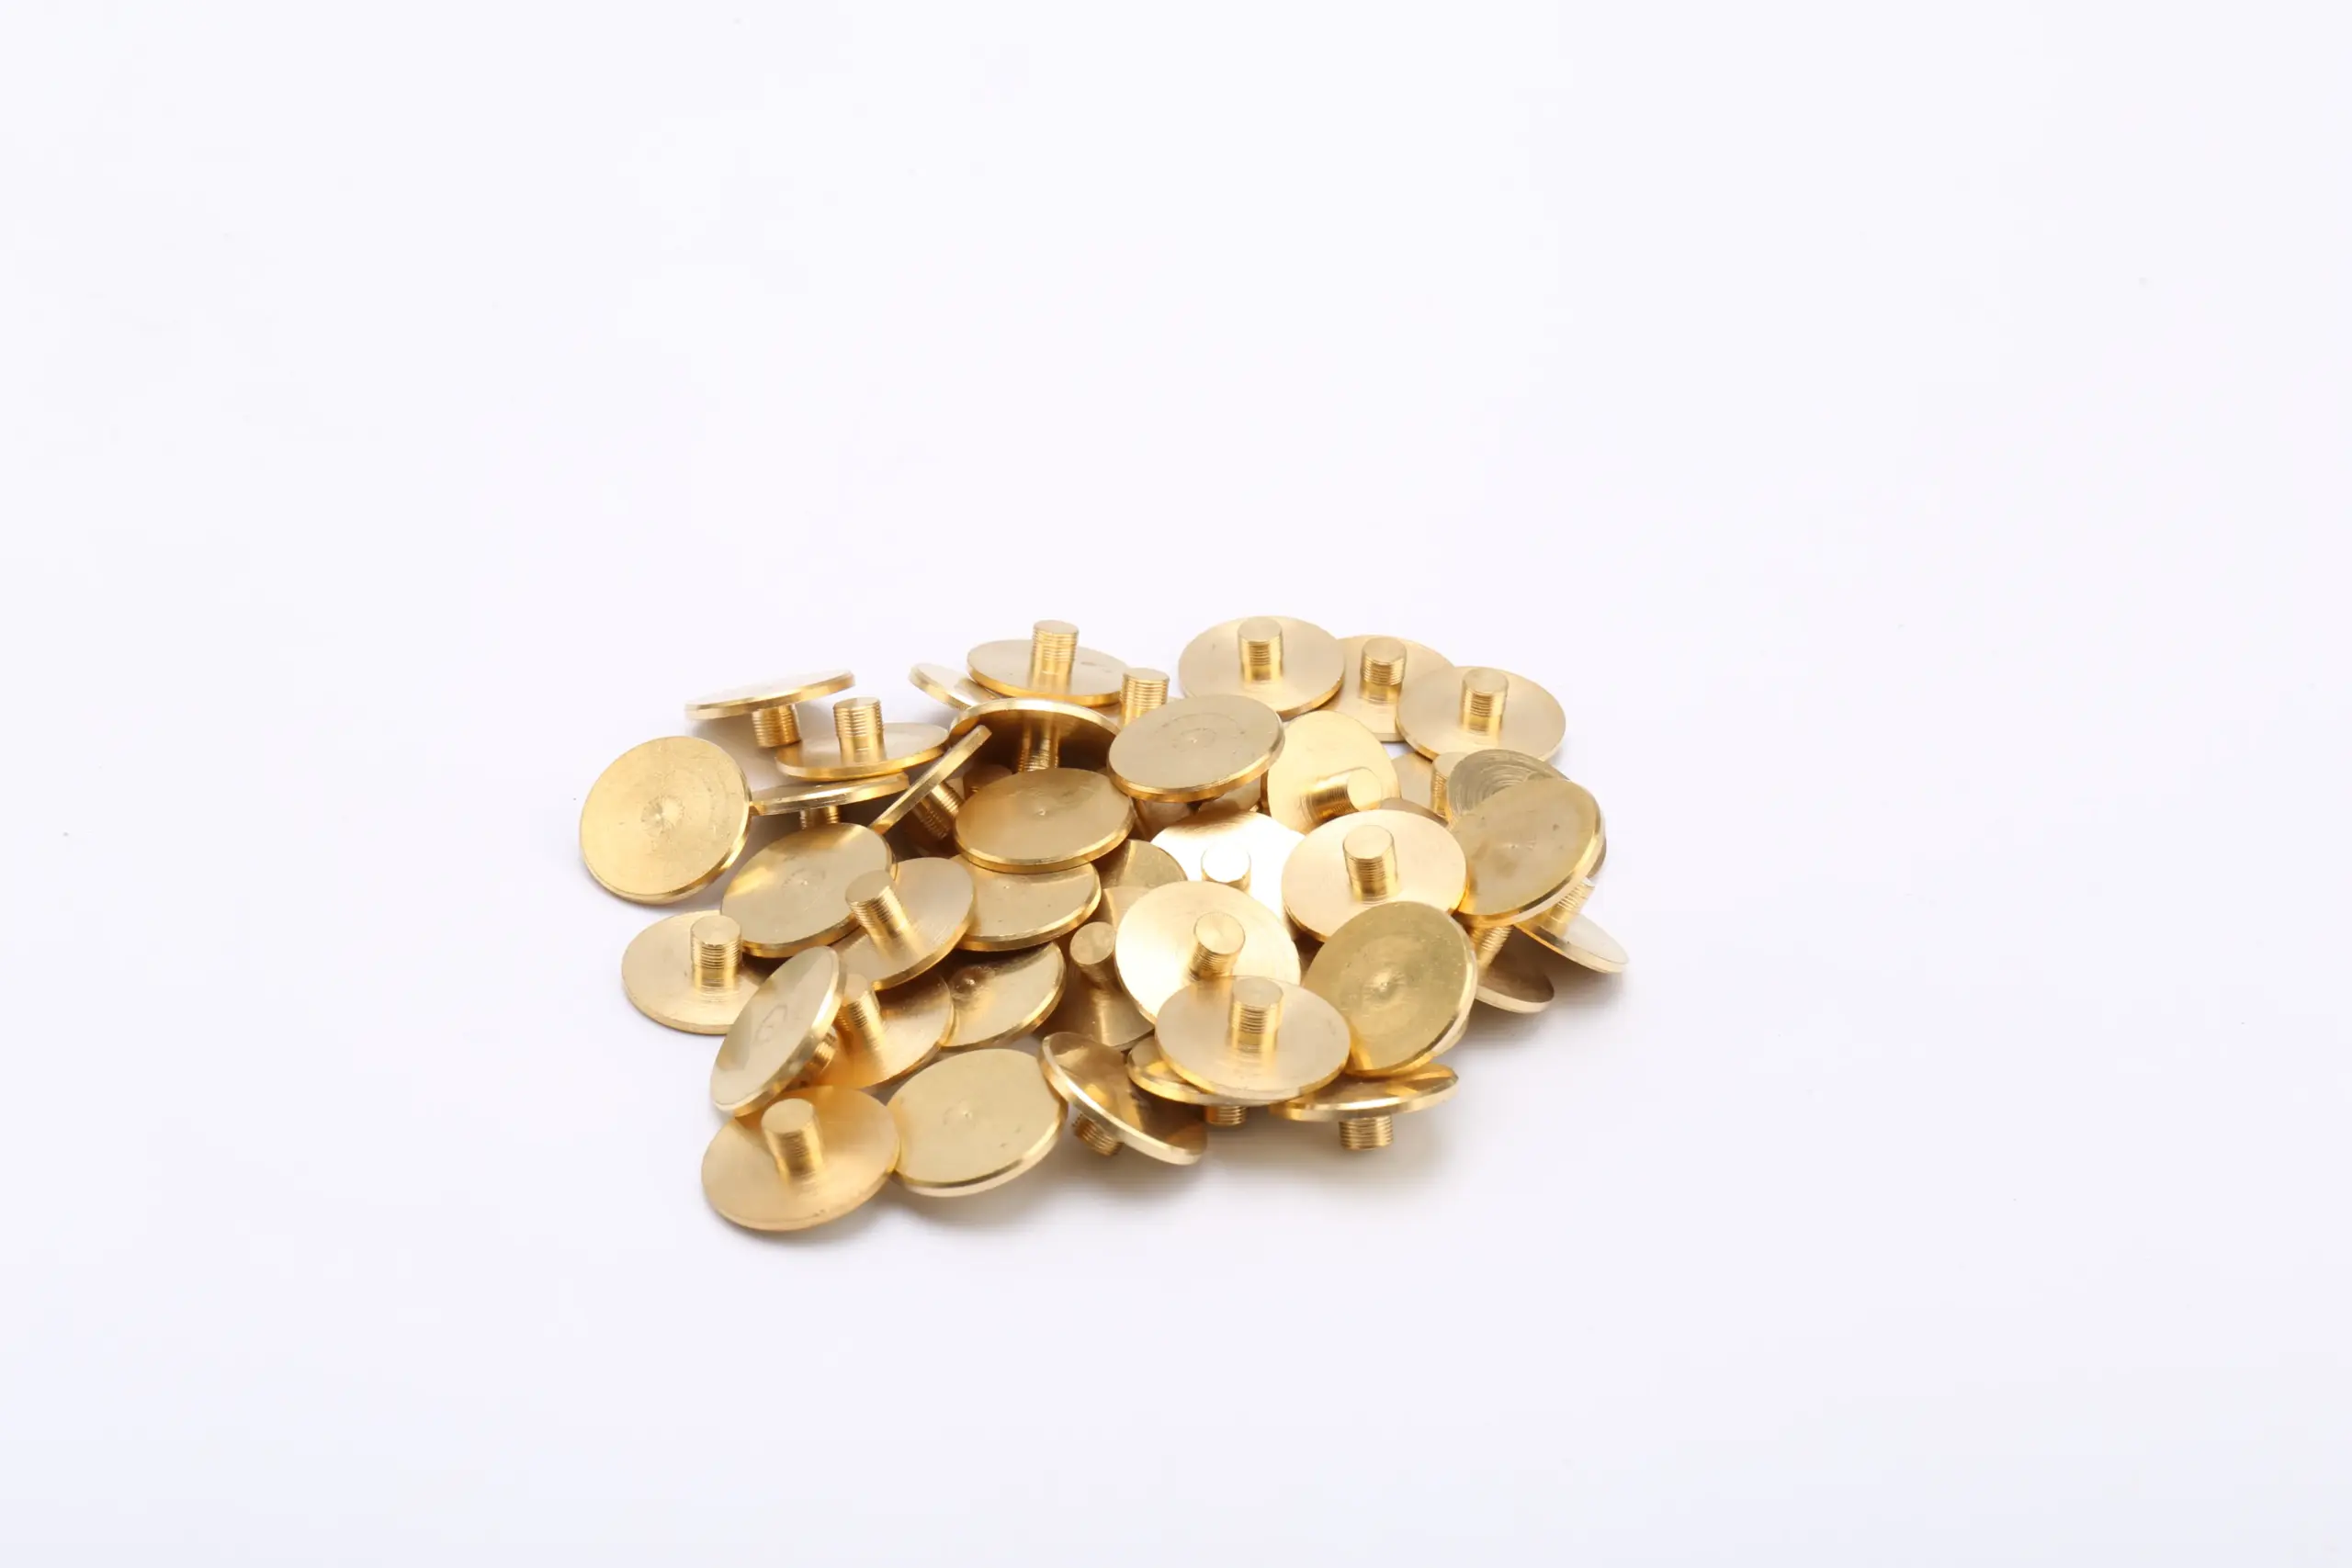
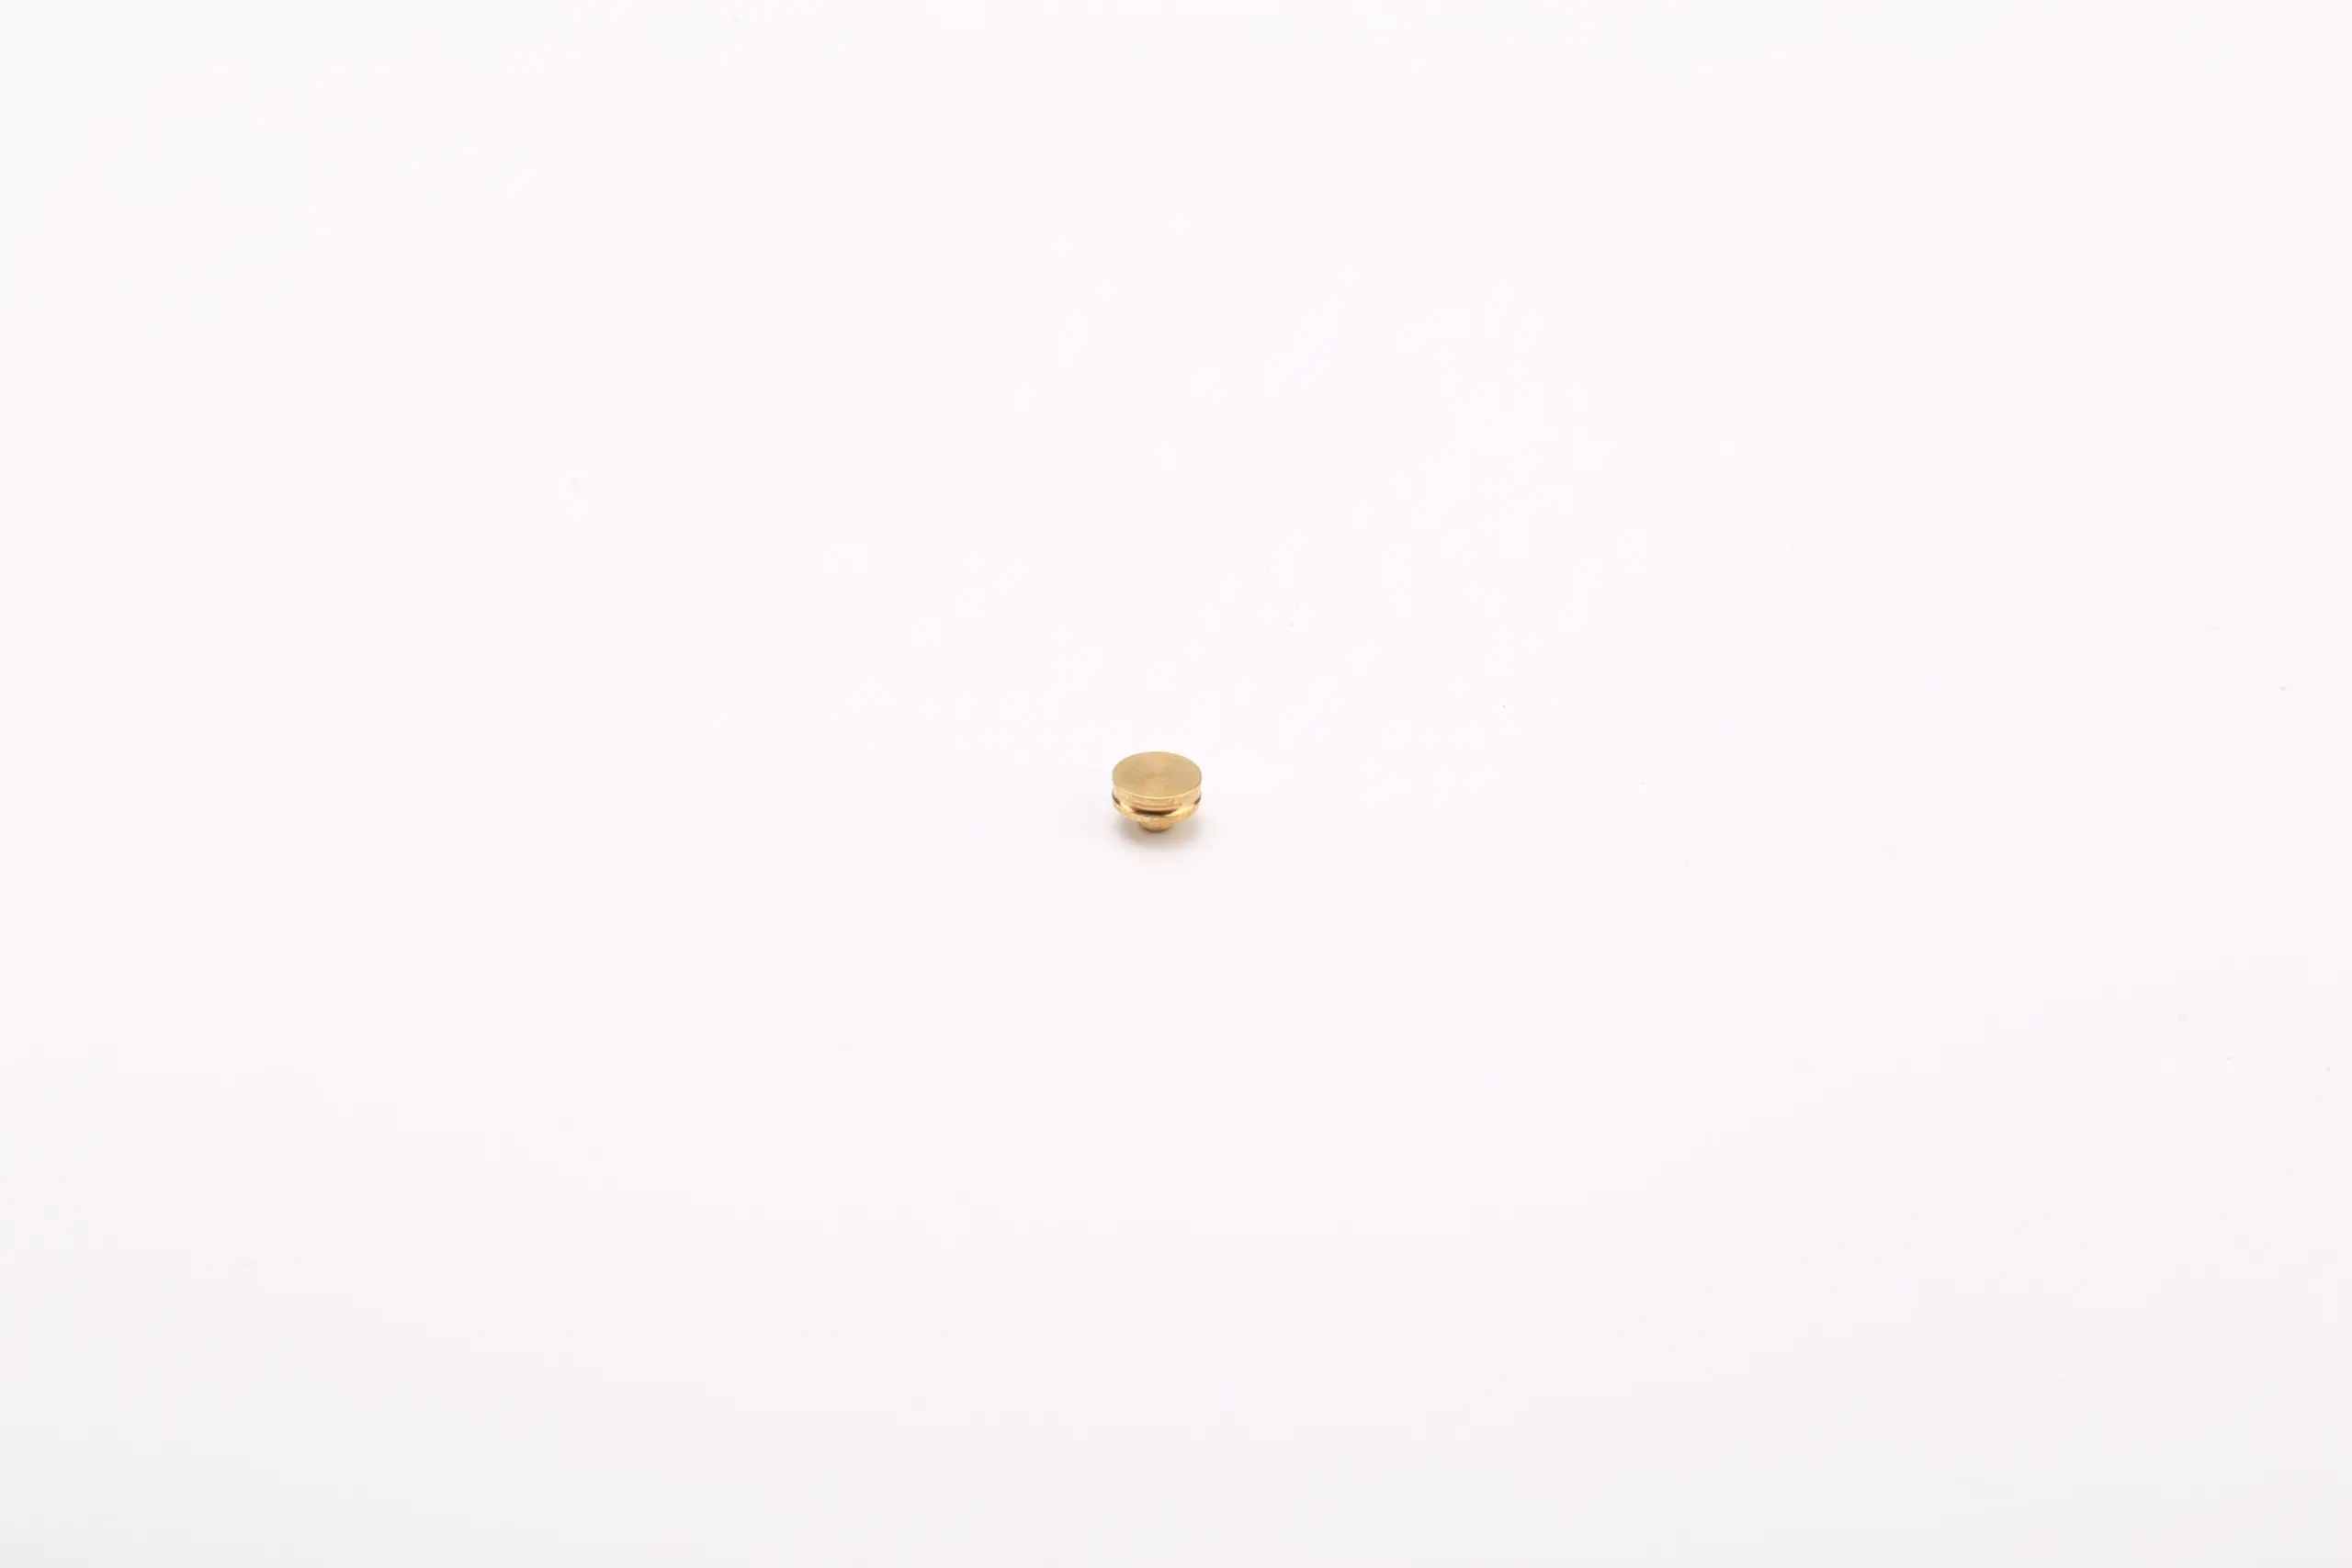
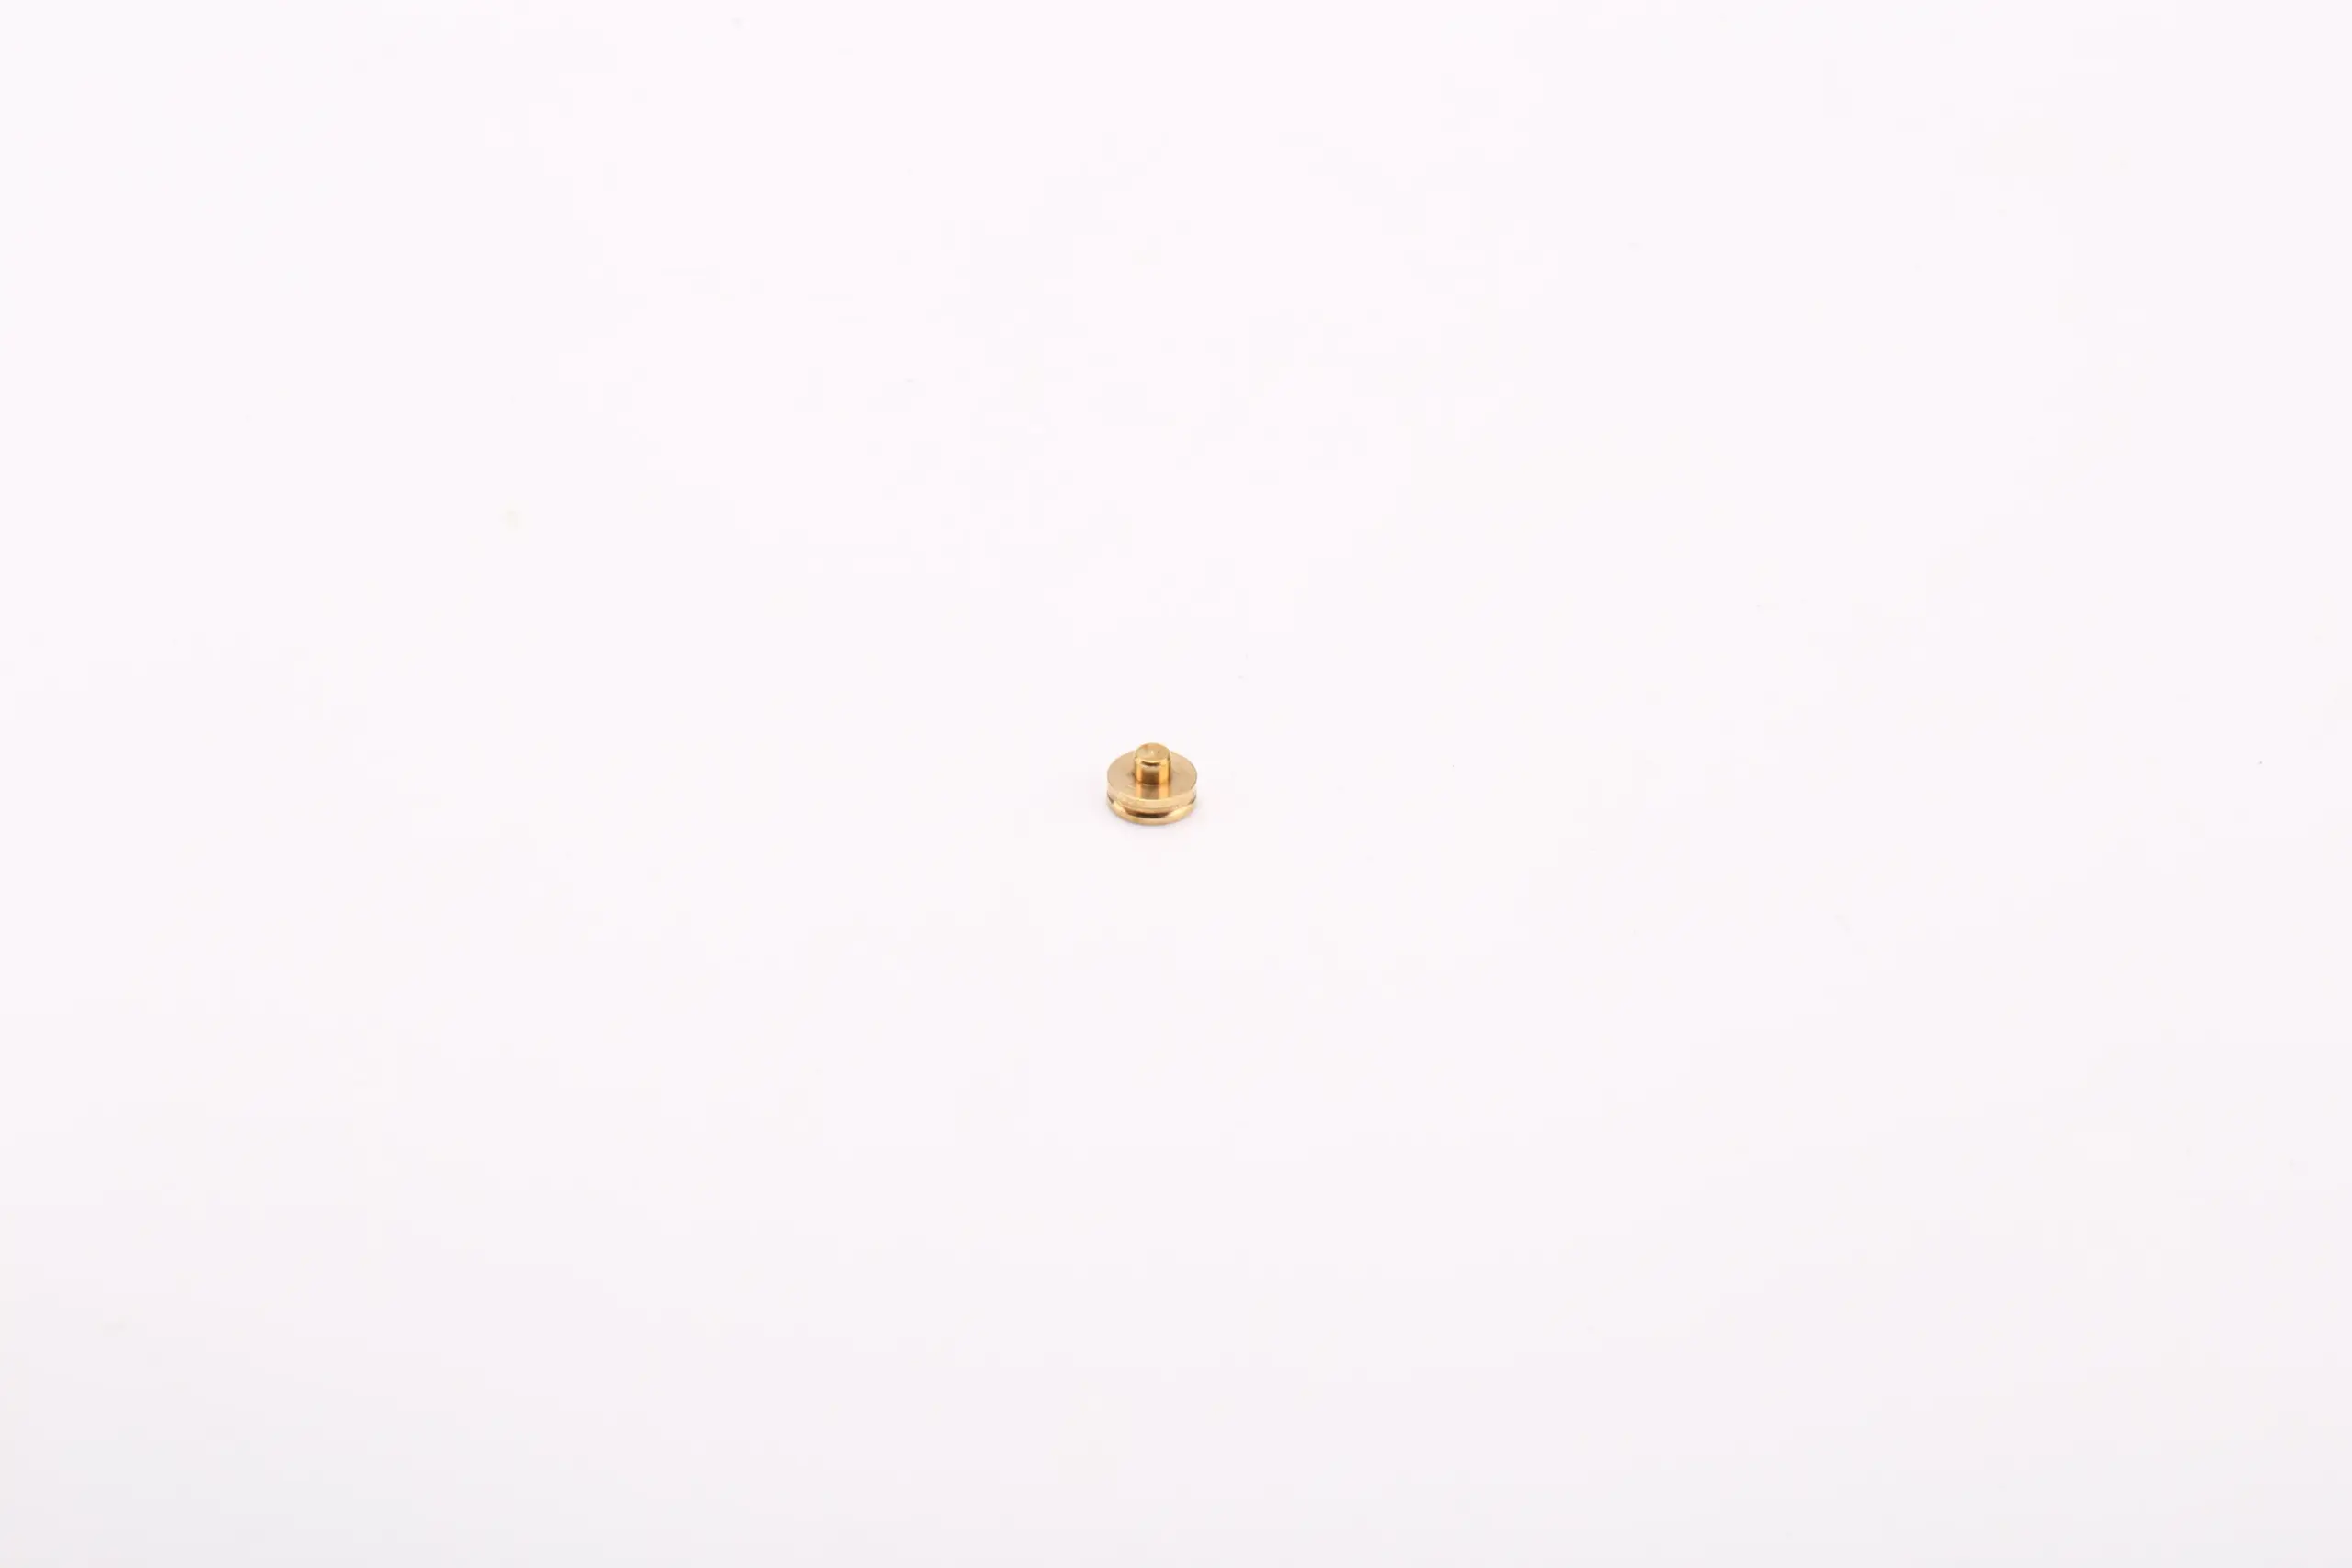
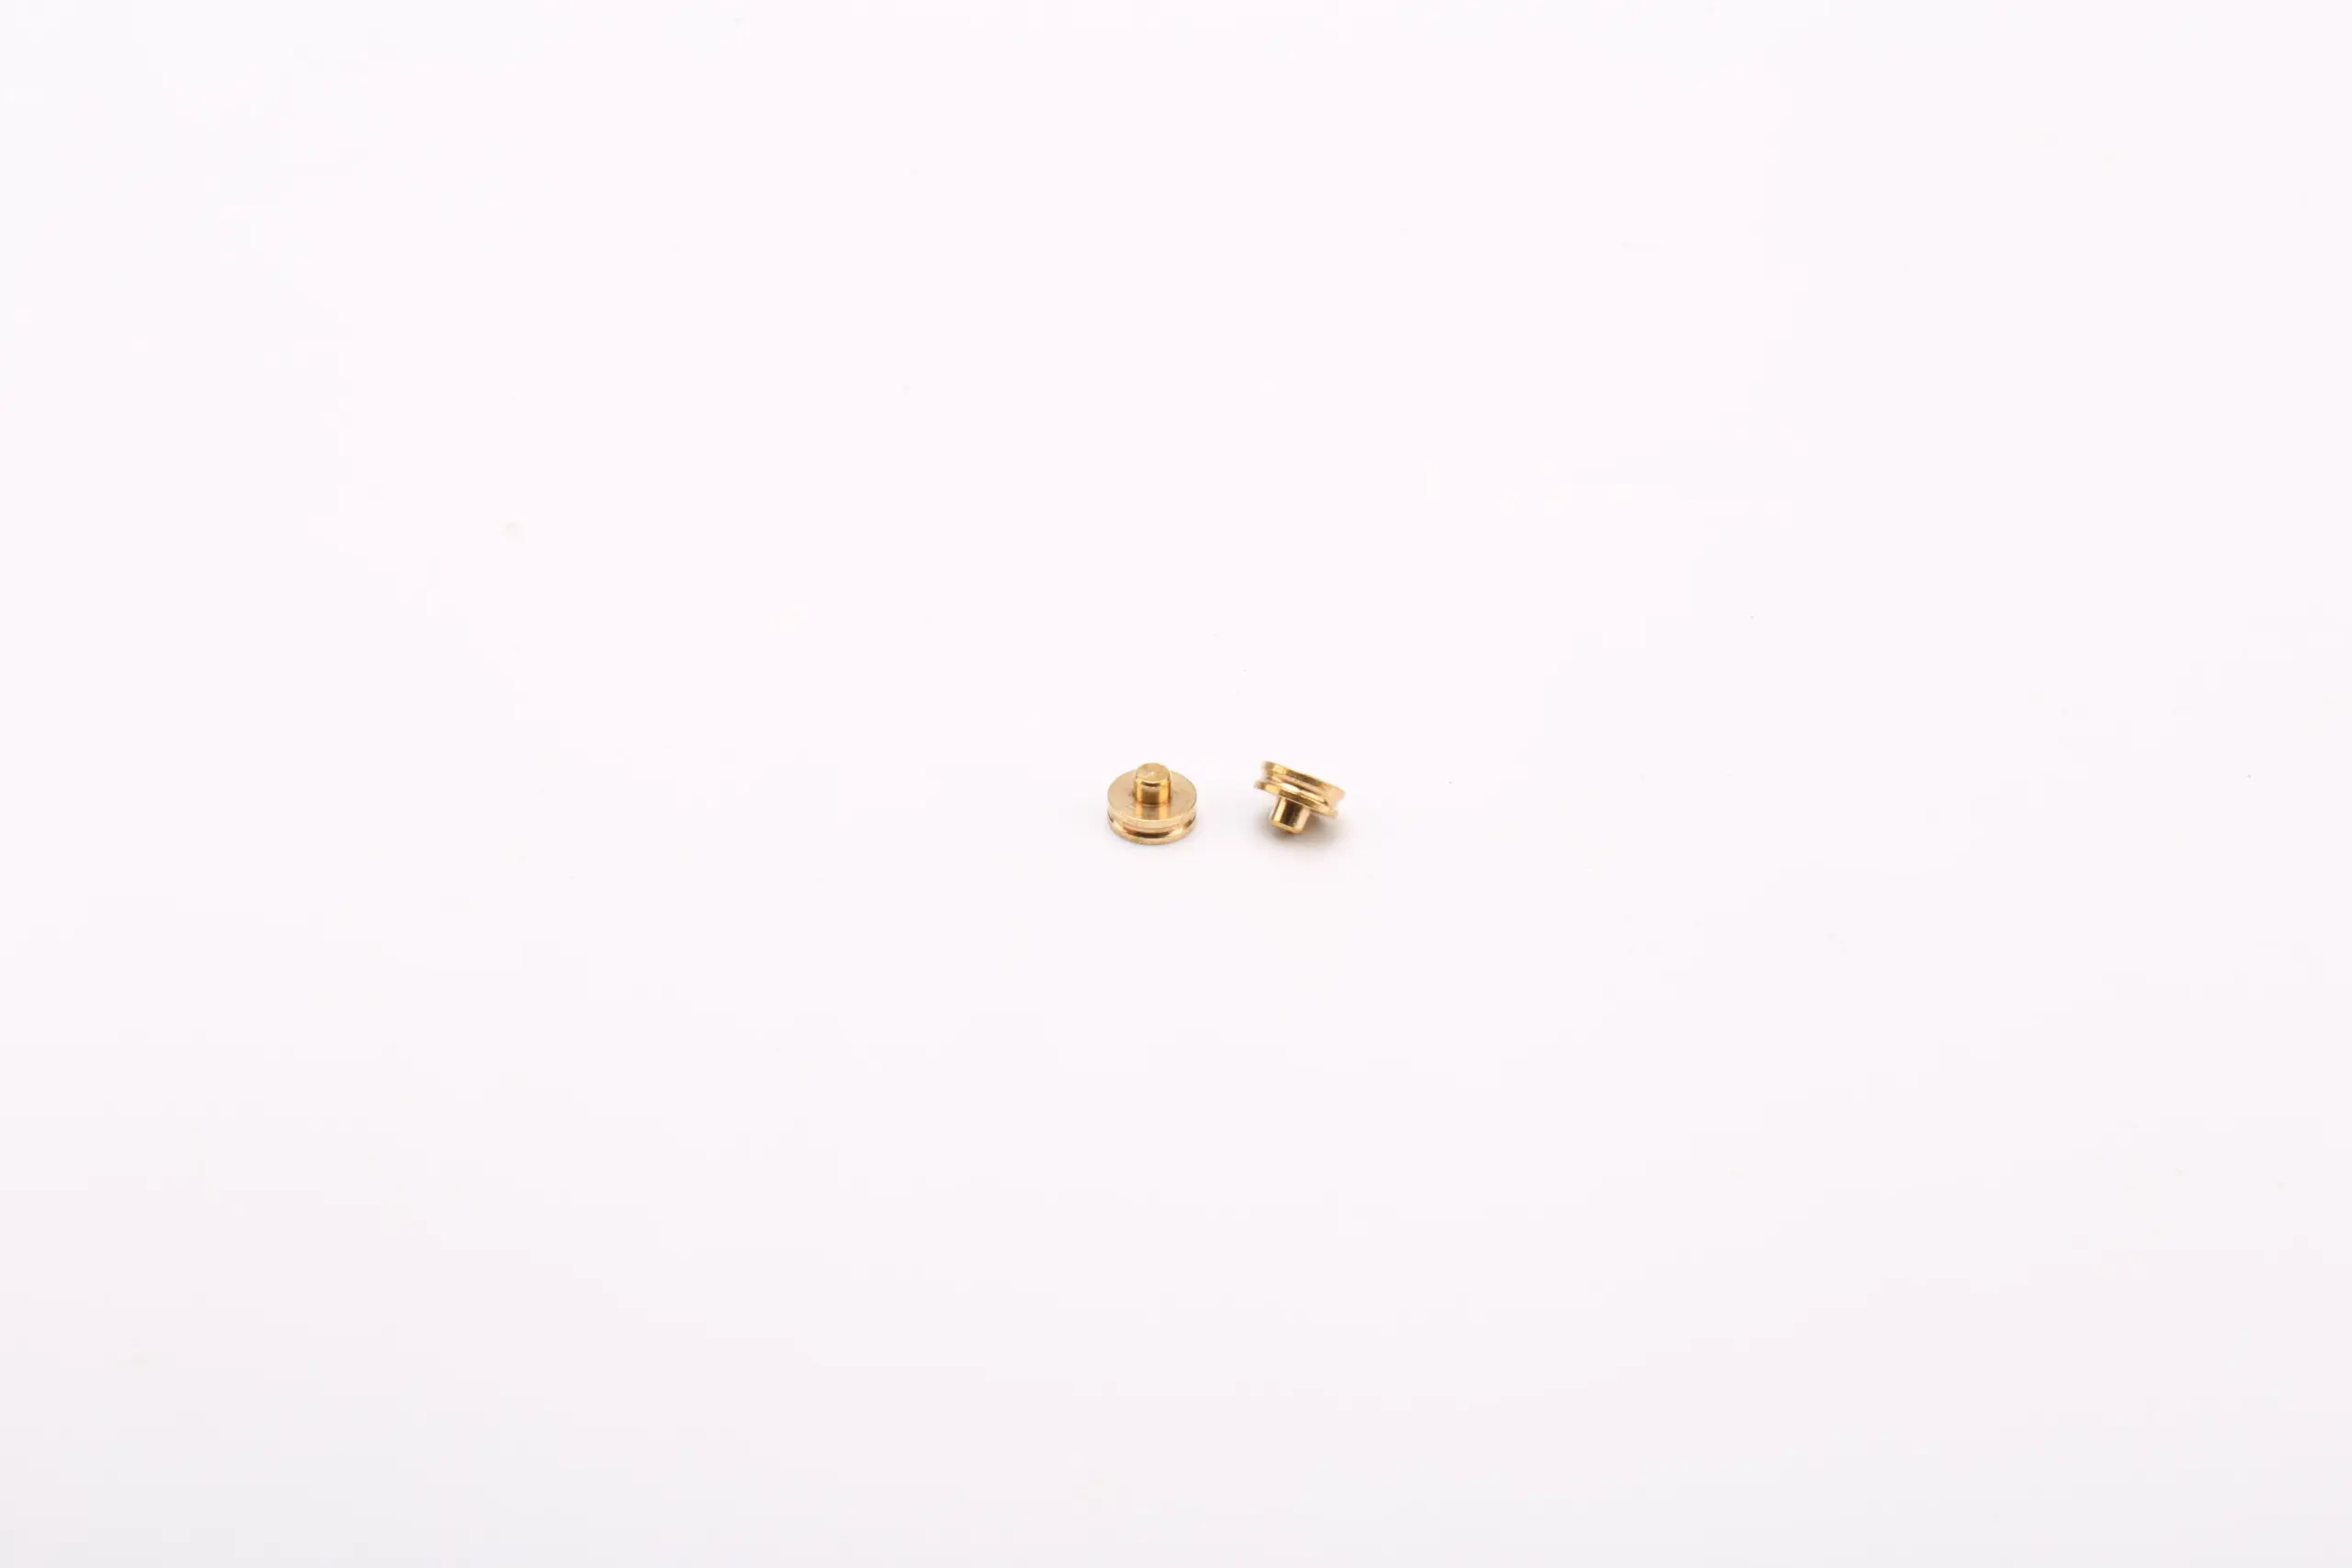
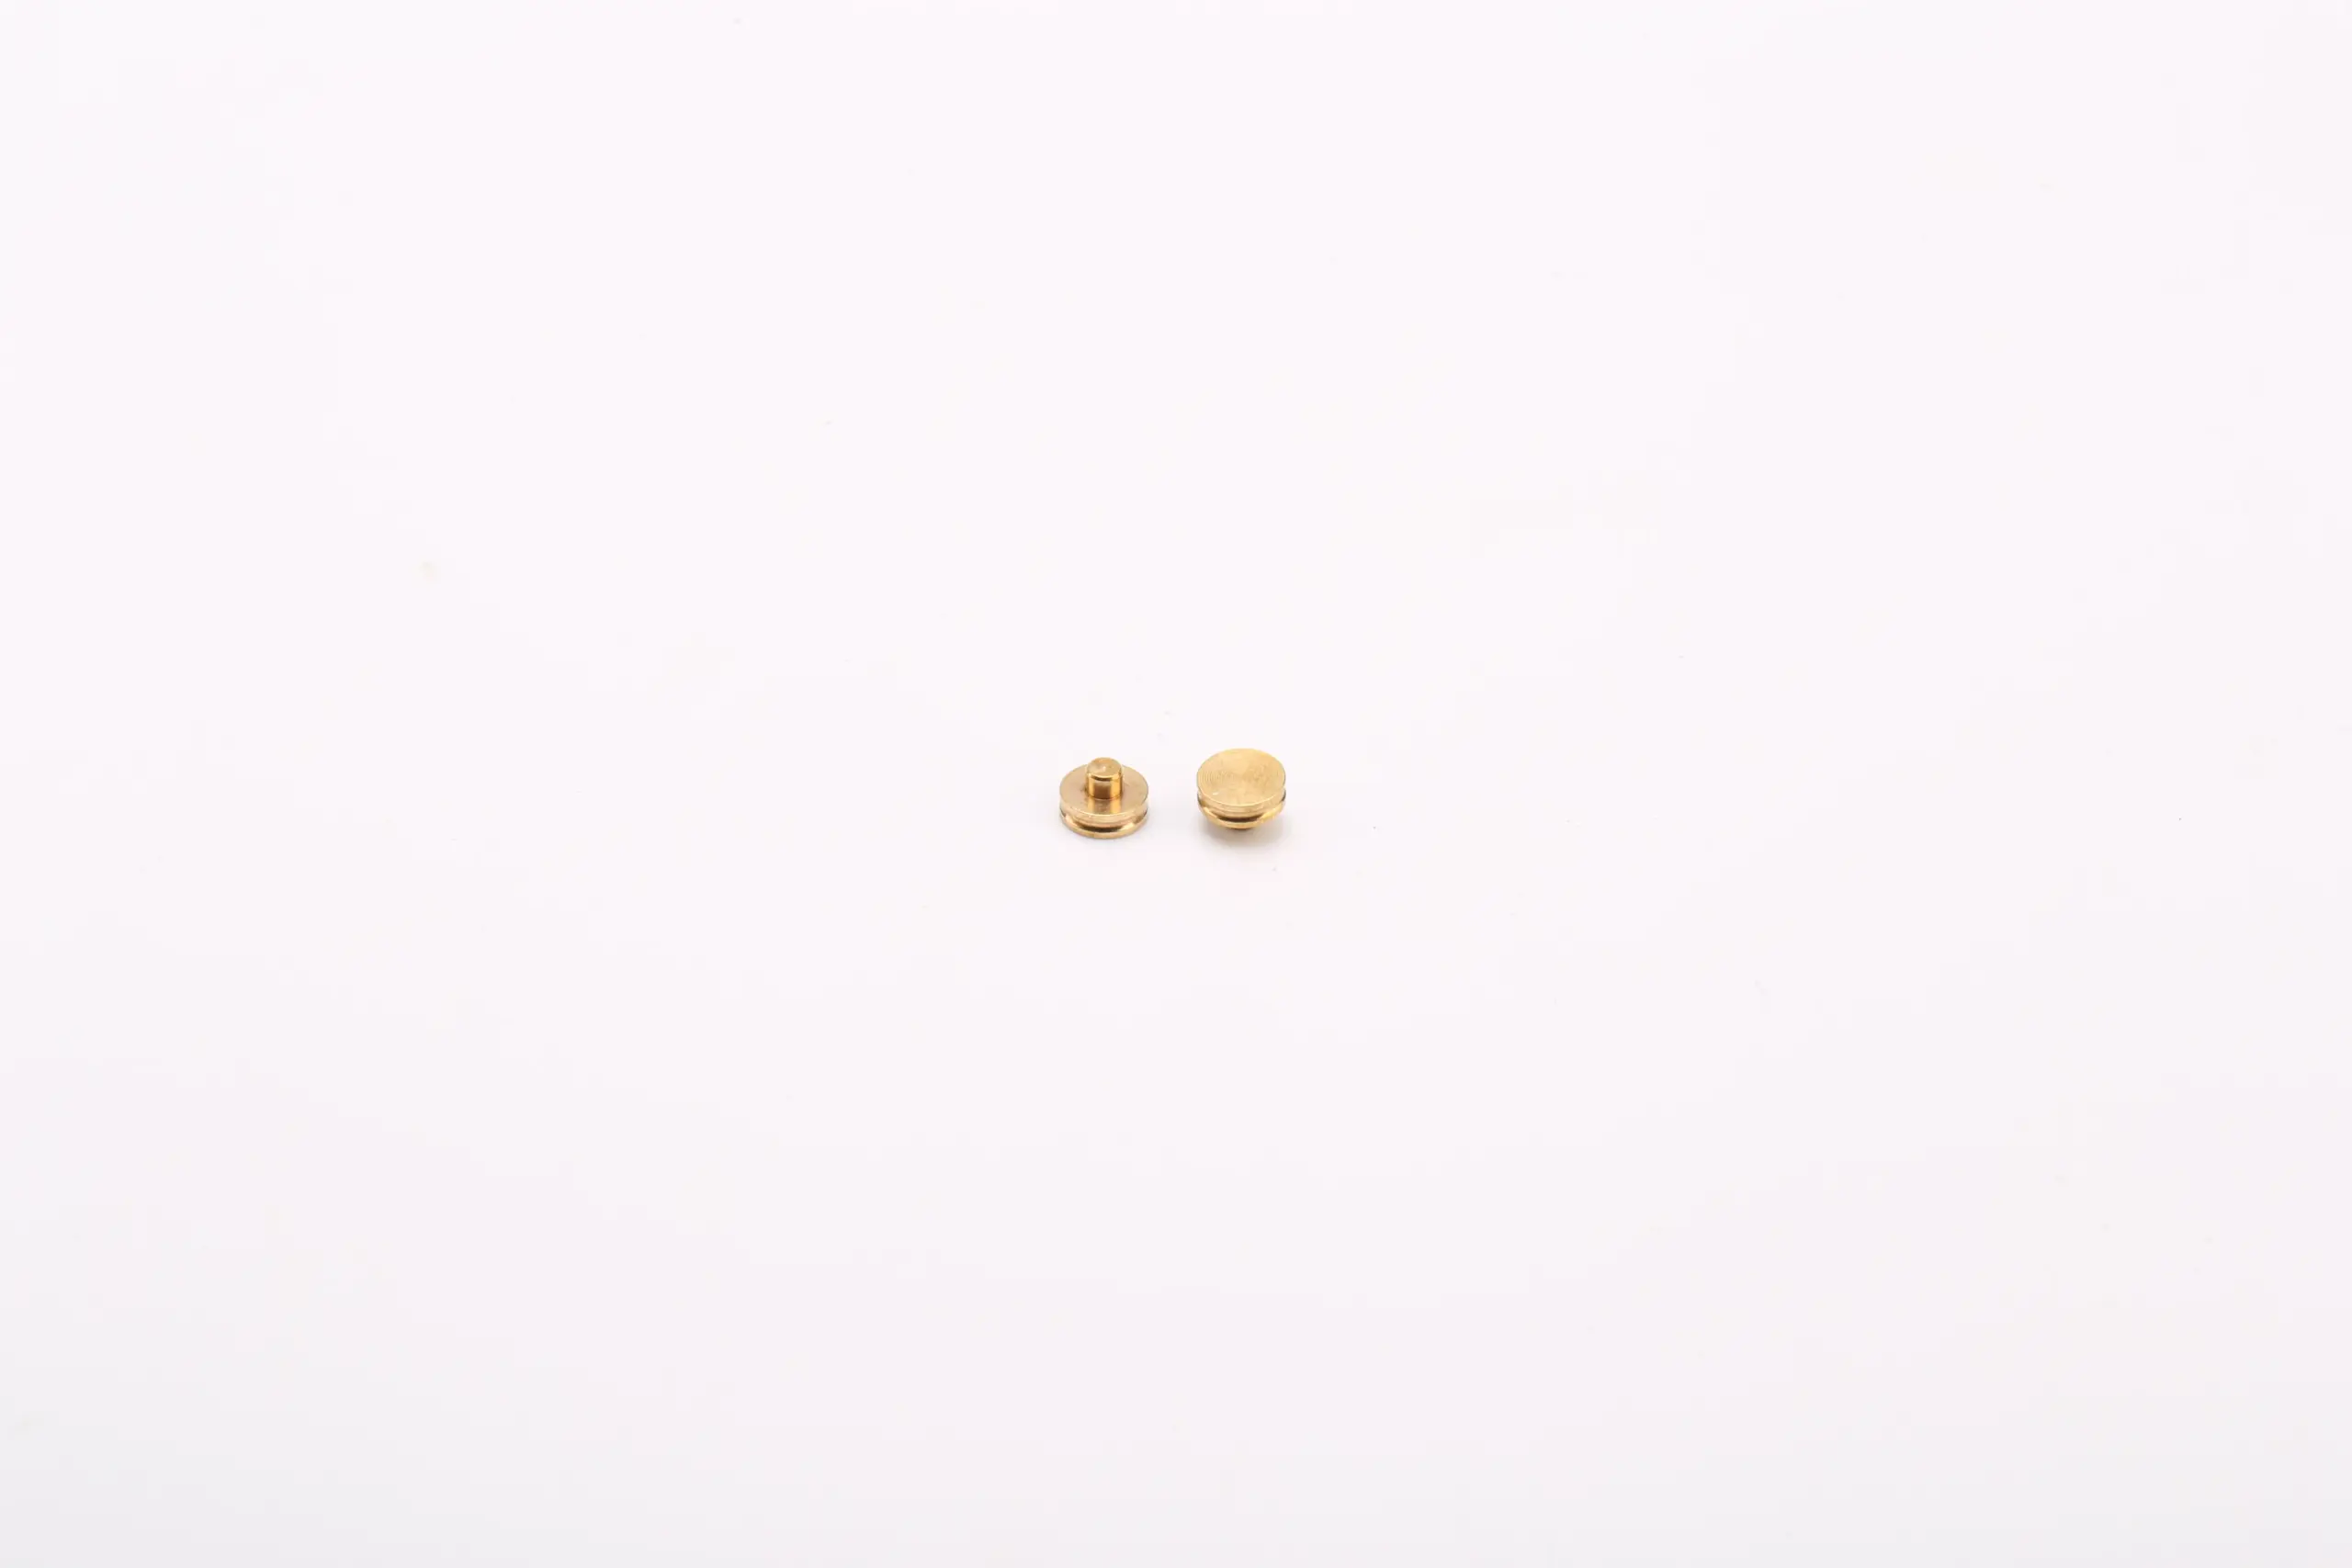
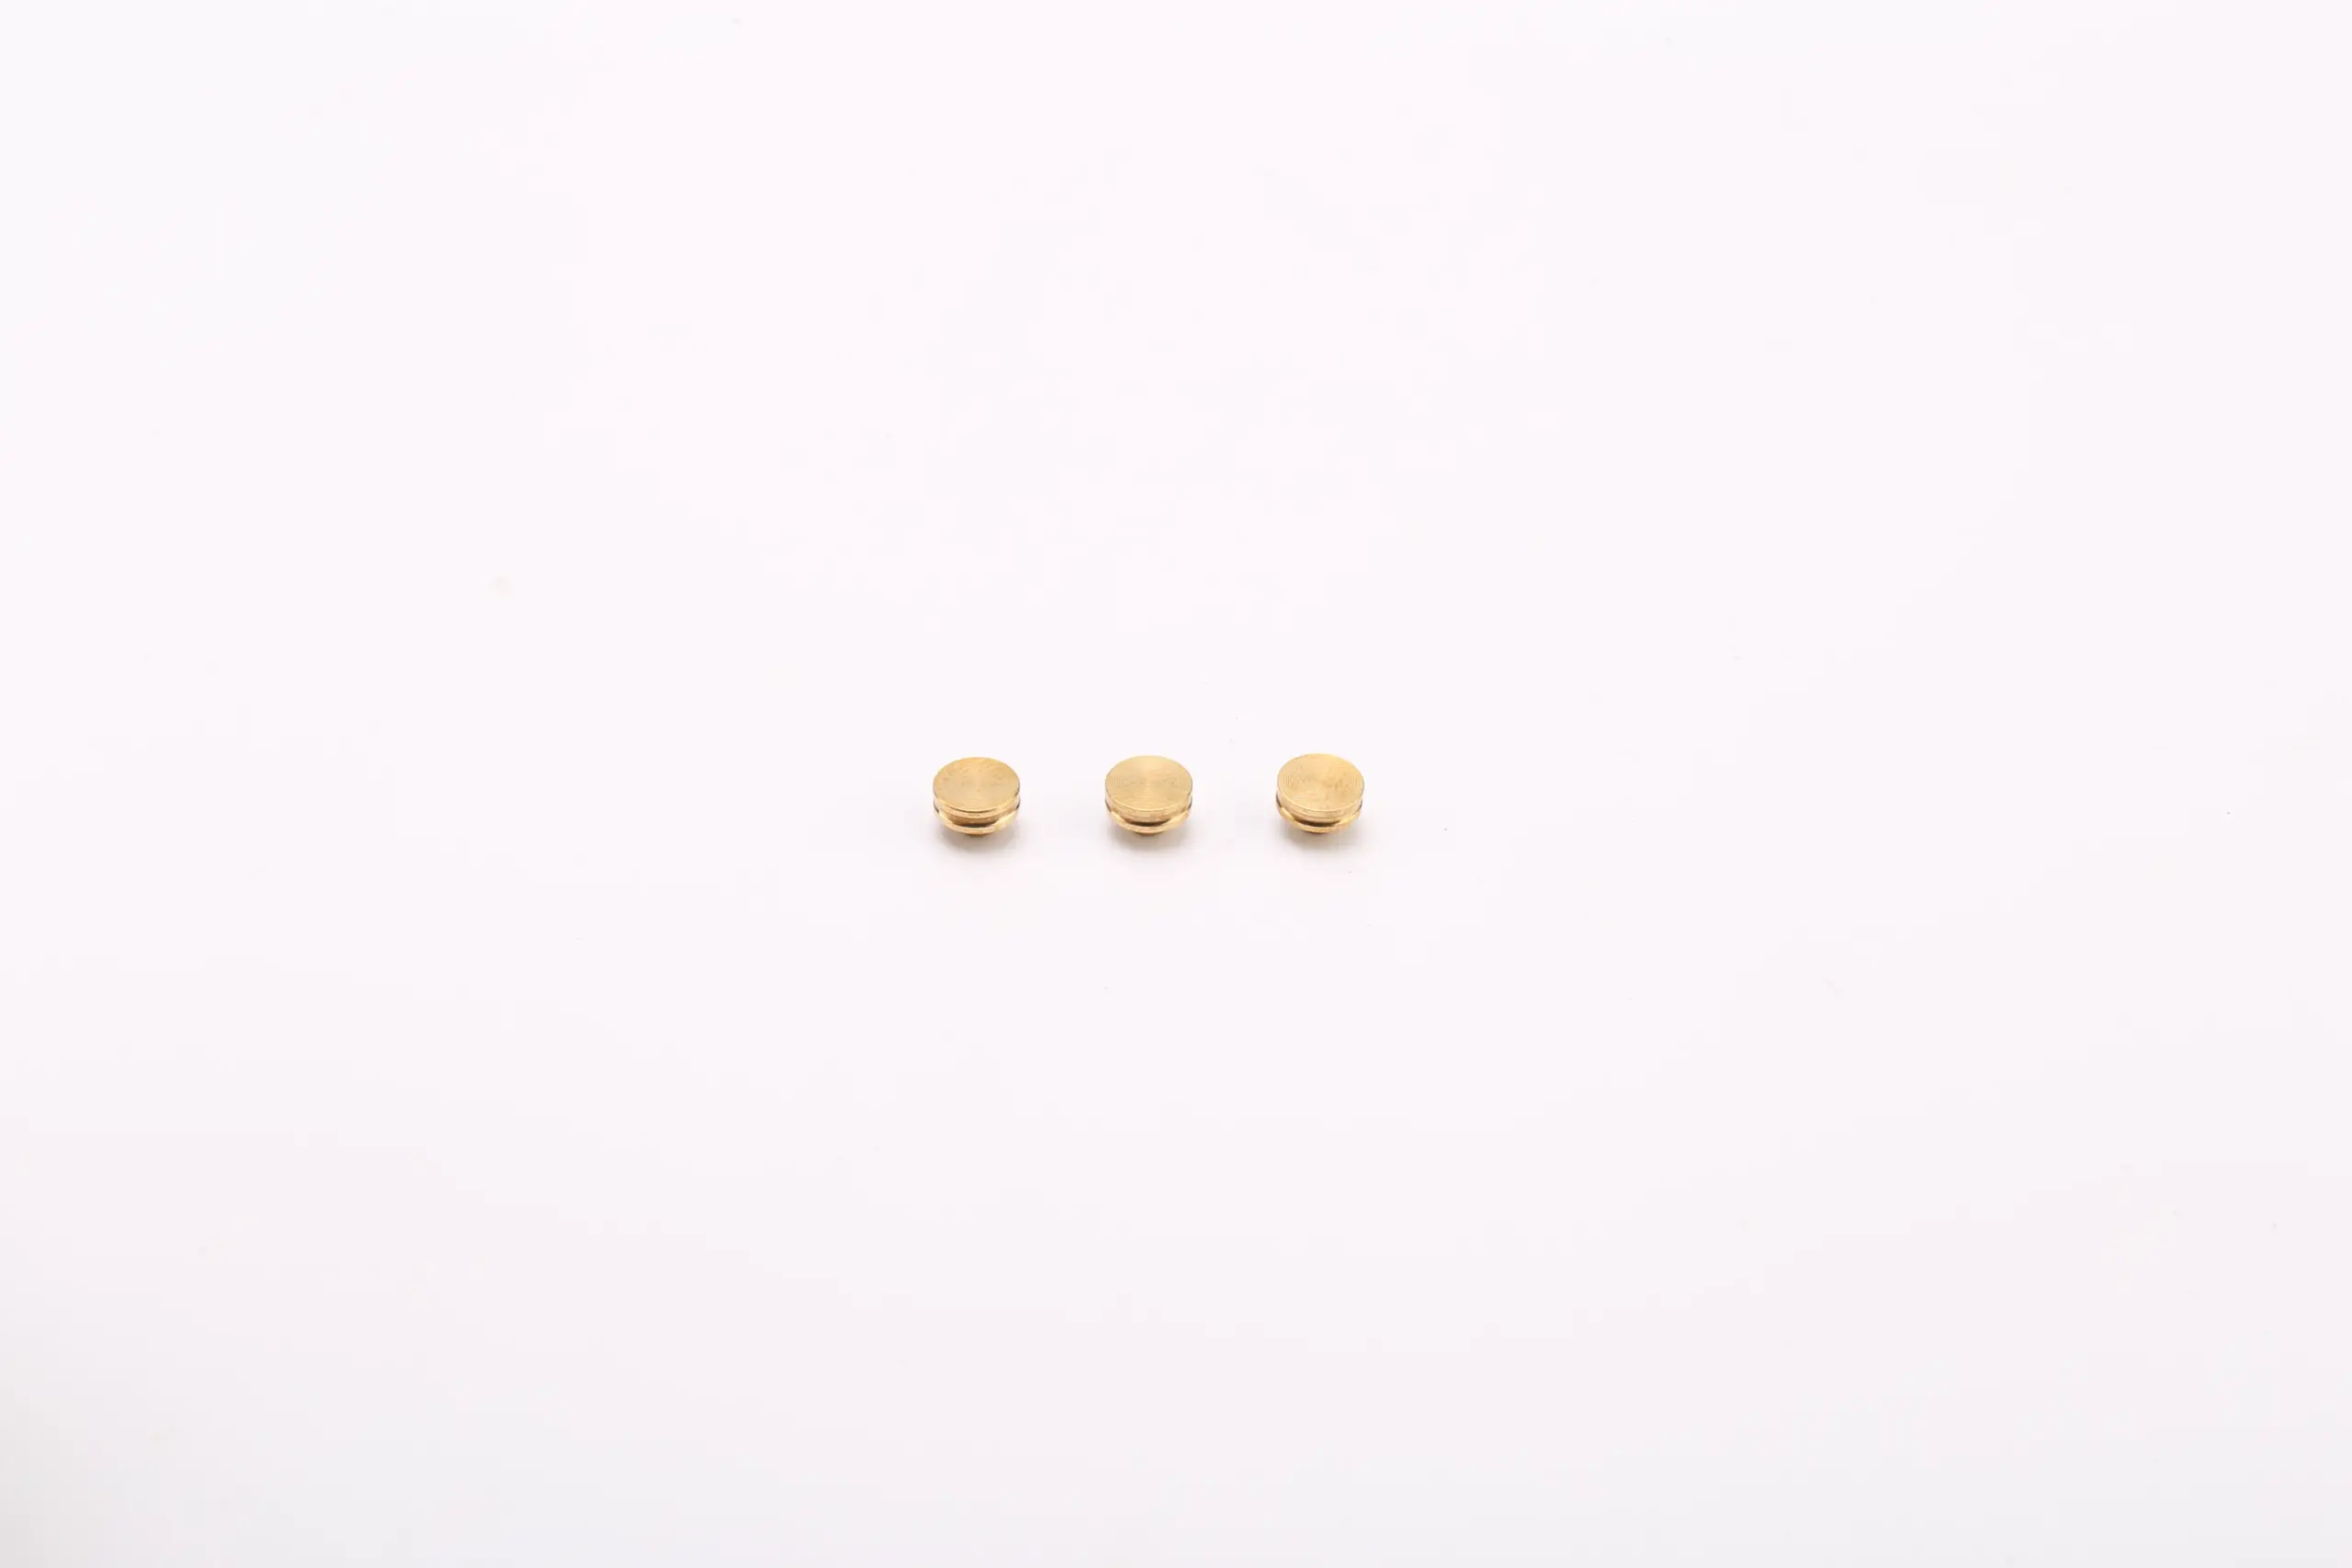
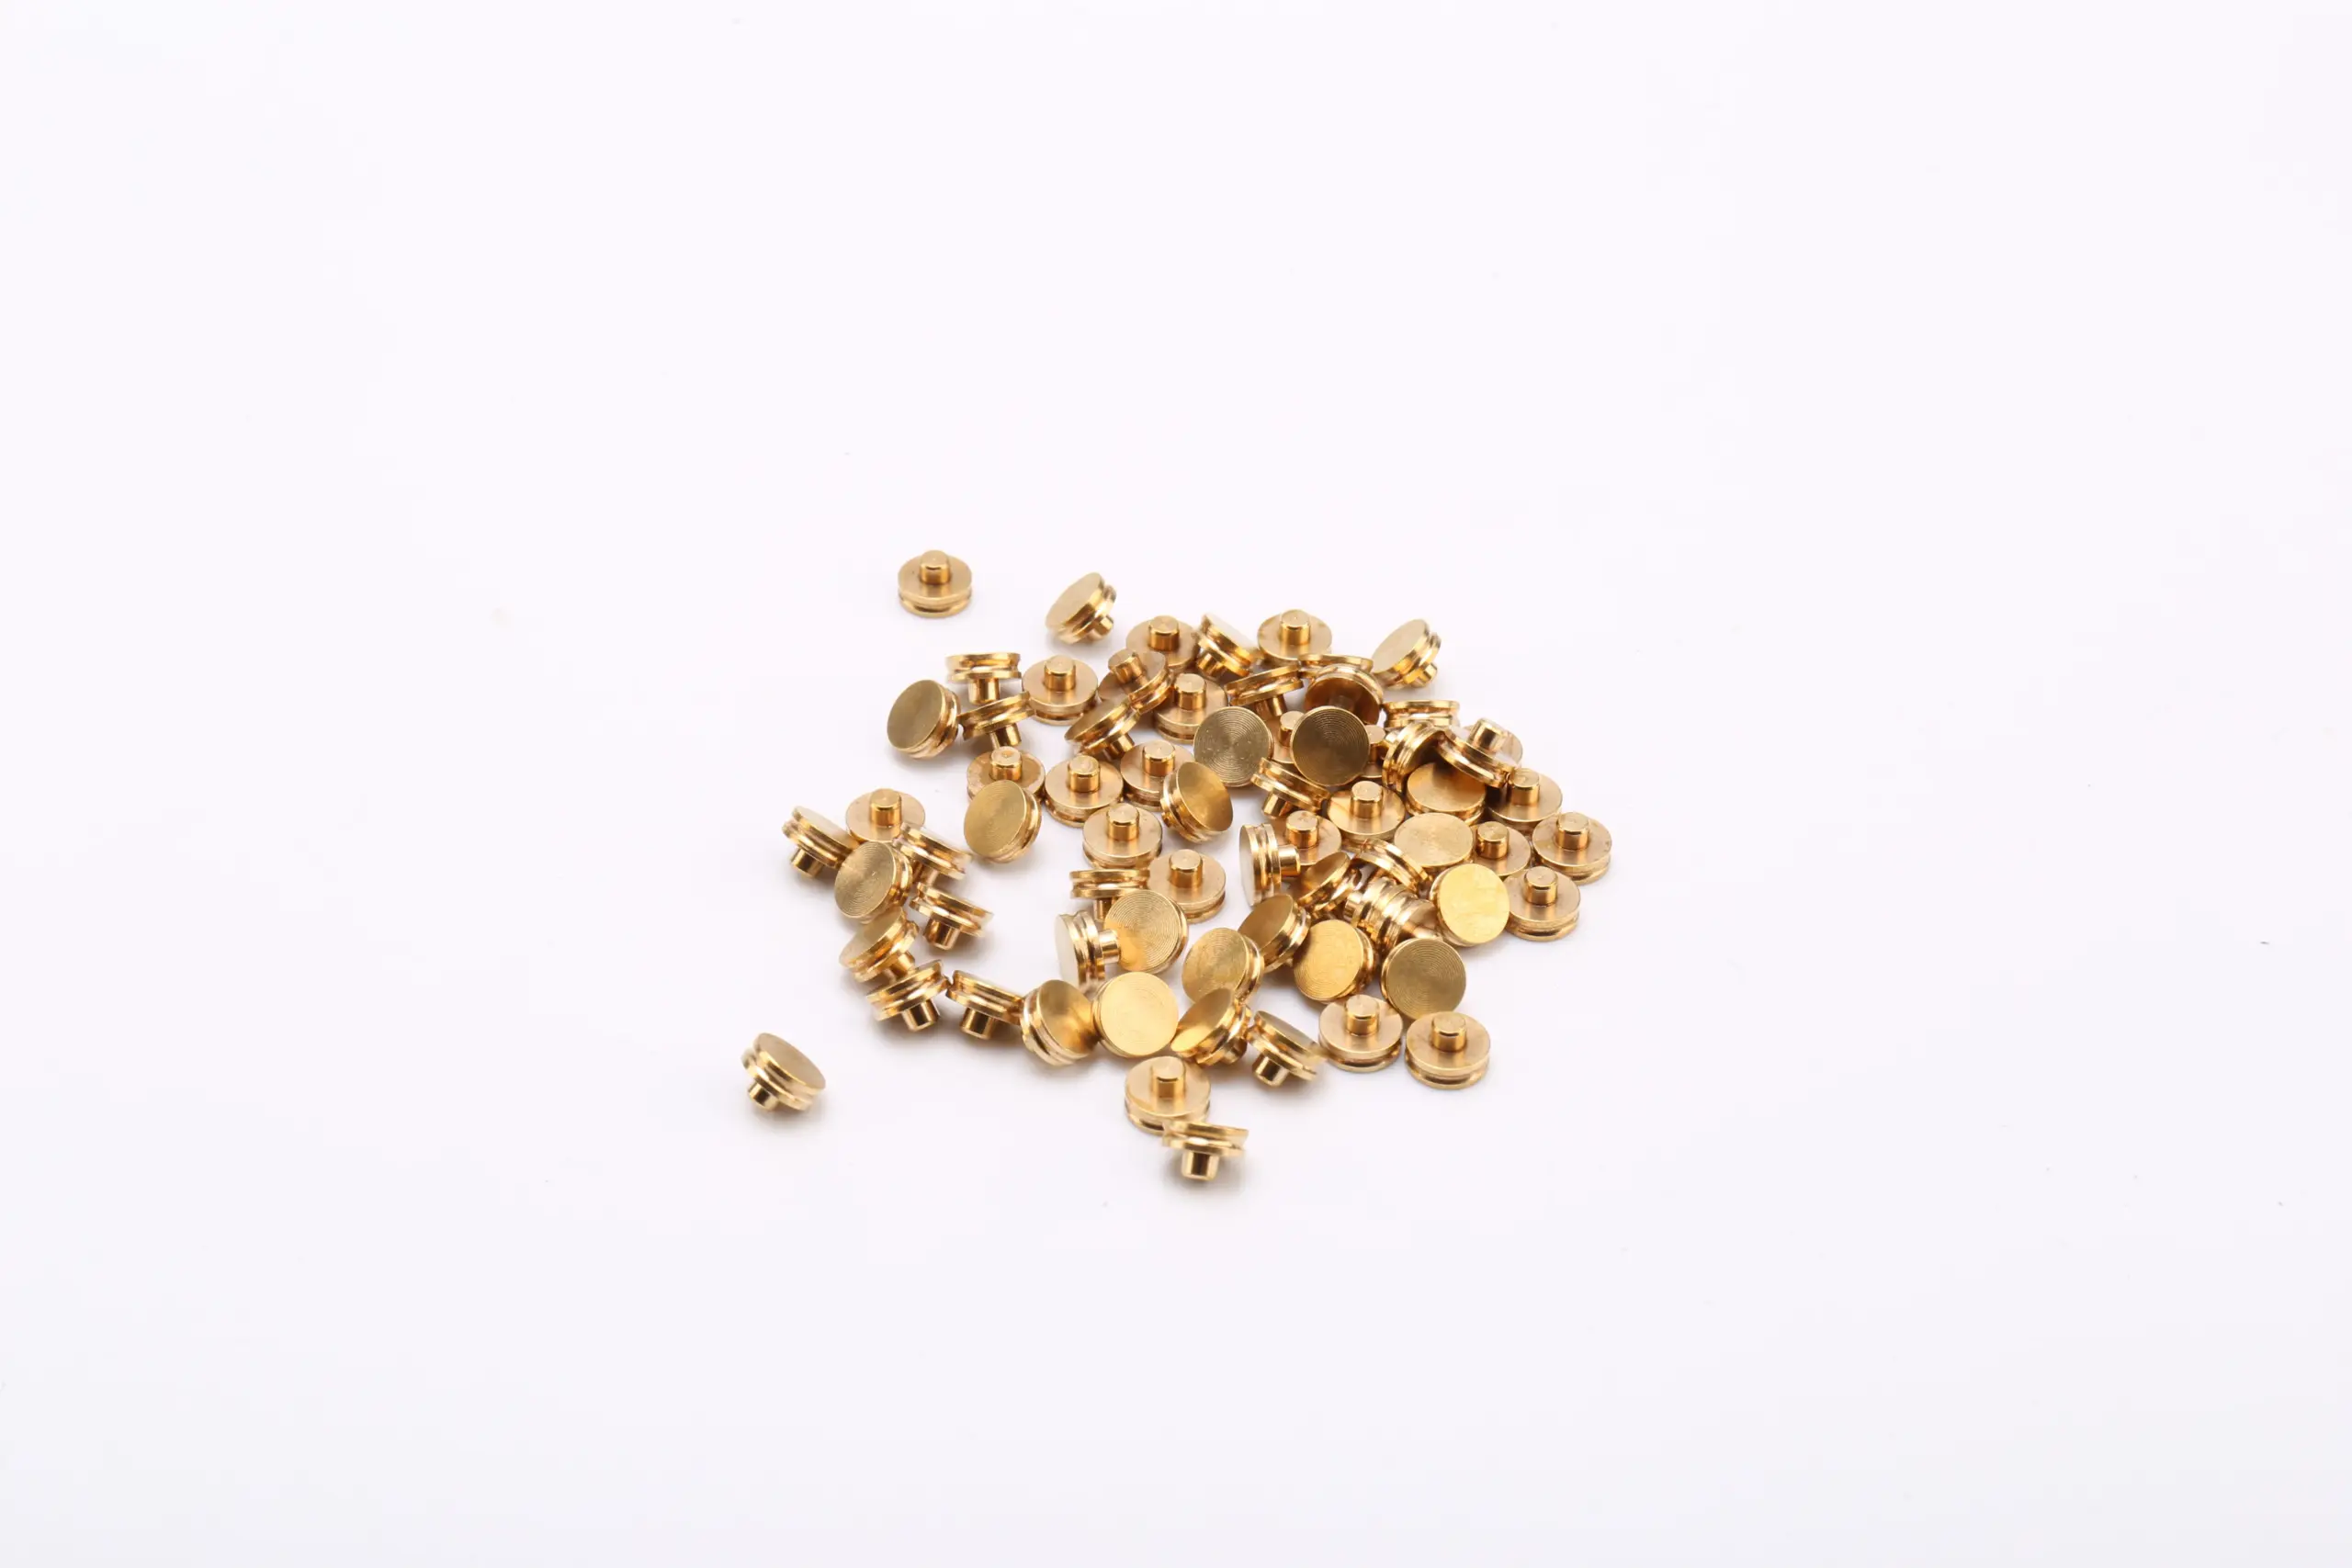
Small brass contact points are compact headed contacts for miniature switches, relays and other space-limited electrical assemblies. The gallery shows very small parts in single, paired and bulk views, with a narrow shank and a small contact face. Their scale is the main difference from the wider flat contact points: the smaller face and body leave less room for misalignment during assembly.
Compact geometry and contact alignment
A small contact point concentrates the available face area into a short head. That can suit a miniature mechanism, but it also makes the face position sensitive to burrs, tilt and carrier-hole clearance. The shank must be straight enough to enter the carrier, and the head must sit square so the mating contact meets the intended area.
The gallery includes close-up and group views. The close-ups show the general form, while the group views help judge relative size and handling. Neither view supplies a face diameter, shank length or tolerance. Use a drawing or measured sample when the contact travel is short.
Small contact points in miniature assemblies
Do not assume that a smaller contact point is interchangeable with a larger one. Even when the shank fits, a smaller face can change the contact area, alignment tolerance and wear pattern. Compare the full interface, not just the hole diameter.
Material and surface questions
Small parts are easily damaged by bulk handling. Specify how they will be packed and whether the contact faces must be protected from rubbing. A visual inspection plan should include the face, the head-to-shank transition and the shank end.
How to specify a small brass contact point
- Show the face diameter, head height, edge profile and flatness requirement.
- Dimension the shank diameter, length and the carrier or terminal interface.
- State the brass alloy, surface treatment and any contact-face protection.
- Provide the mating contact, installation method, packing method and quantity.
Handling and inspection
Inspect the face under suitable magnification for dents, scratches and burrs. Check that the head is not tilted and that the shank is free of tool marks that could affect insertion. If the parts are supplied in bulk, sample from several areas of the container to look for tangled or damaged pieces.
Trial the point in the actual carrier. Confirm that it seats at the correct height and that the mating contact does not hit an edge or a burr. After installation, check that the point cannot rotate or shift under the expected movement. Keep the approved sample in a protective holder so the reference face is not damaged.
FAQ
Is this the same as a flat brass contact point?
It is a smaller version of the general format, but the face area and proportions differ. Confirm the dimensions and do not substitute one for the other without reviewing the contact interface.
How should tiny contact points be packed?
The packing method should protect the faces from rubbing and make the parts easy to handle. Specify the requirement if bulk handling could damage the contact surface.
Can the shank be shortened?
A modified length may be possible, but it should be shown on the drawing and checked against the carrier depth. Do not trim a finished contact point without approving the new geometry.
Browse the contact points category, or compare flat brass contact points and brass contact points.